Create your page with Pinli
Start on your board, make a page, and shape it with blocks. This guide follows the actual dashboard and editor, from choosing an address to sharing your link.
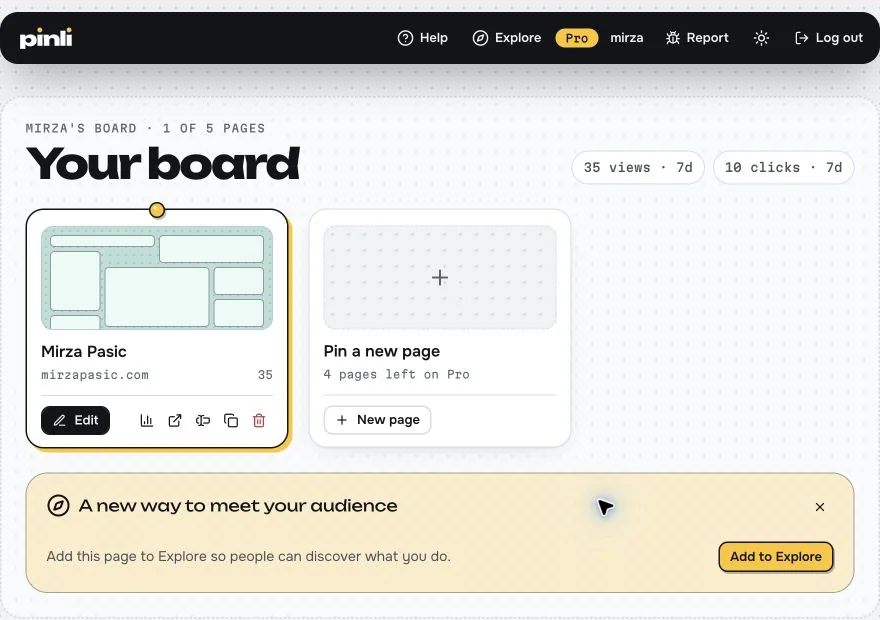
Start on your board
After you log in, your board shows every page in your account. Select New page in the “Pin a new page” card to create another one. To continue an existing page, select its Edit button.
The board also shows your page limit and recent views. You can return to it from the editor rail.
Choose an address and introduce yourself
Enter an available address, a display name, and an optional bio. You can add social profiles here too. Select Create my page to open the editor.
If you are new to Pinli, create an account first. You can choose a plan or trial during setup; the pricing page explains current limits.
Set up your page
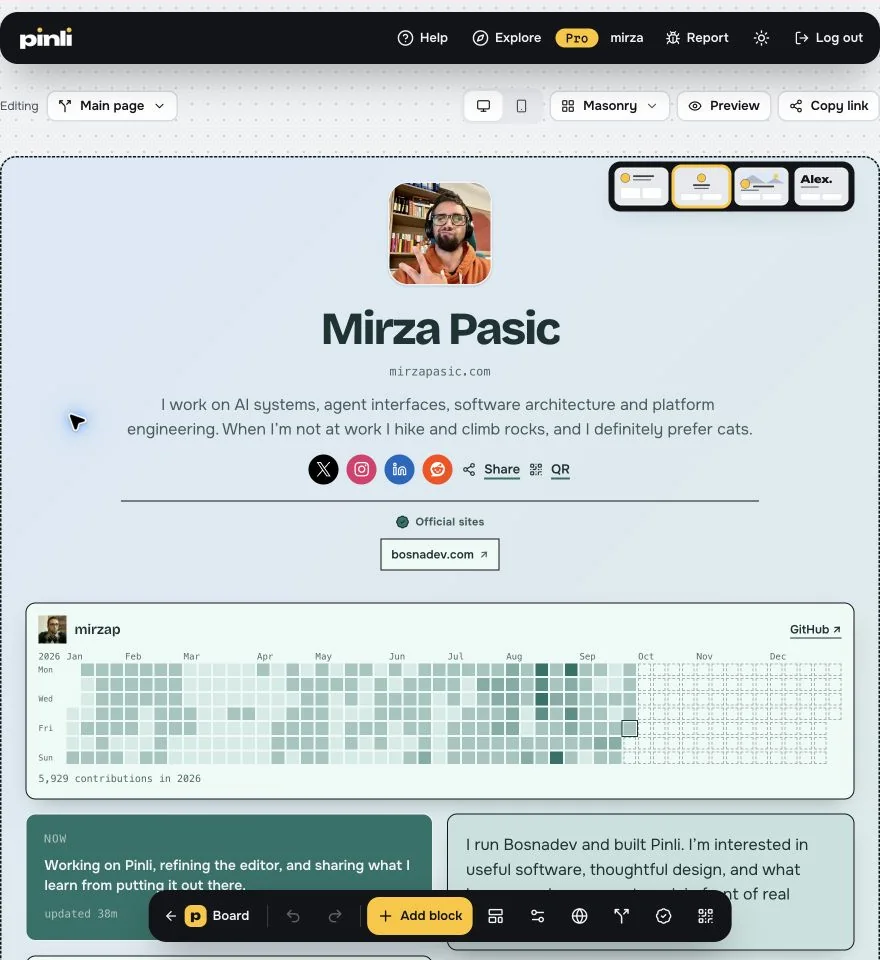
Edit directly on your page
Click your page name or bio to edit it. Use the header controls to choose a layout or change photos. The rail at the bottom takes you back to your board and gives you Undo, Redo, and Add block.
The desktop and phone controls above the page switch between the two layouts. Arrange the same content for each screen size, then select Preview to see the page without editing controls.
Pick the blocks your visitors need
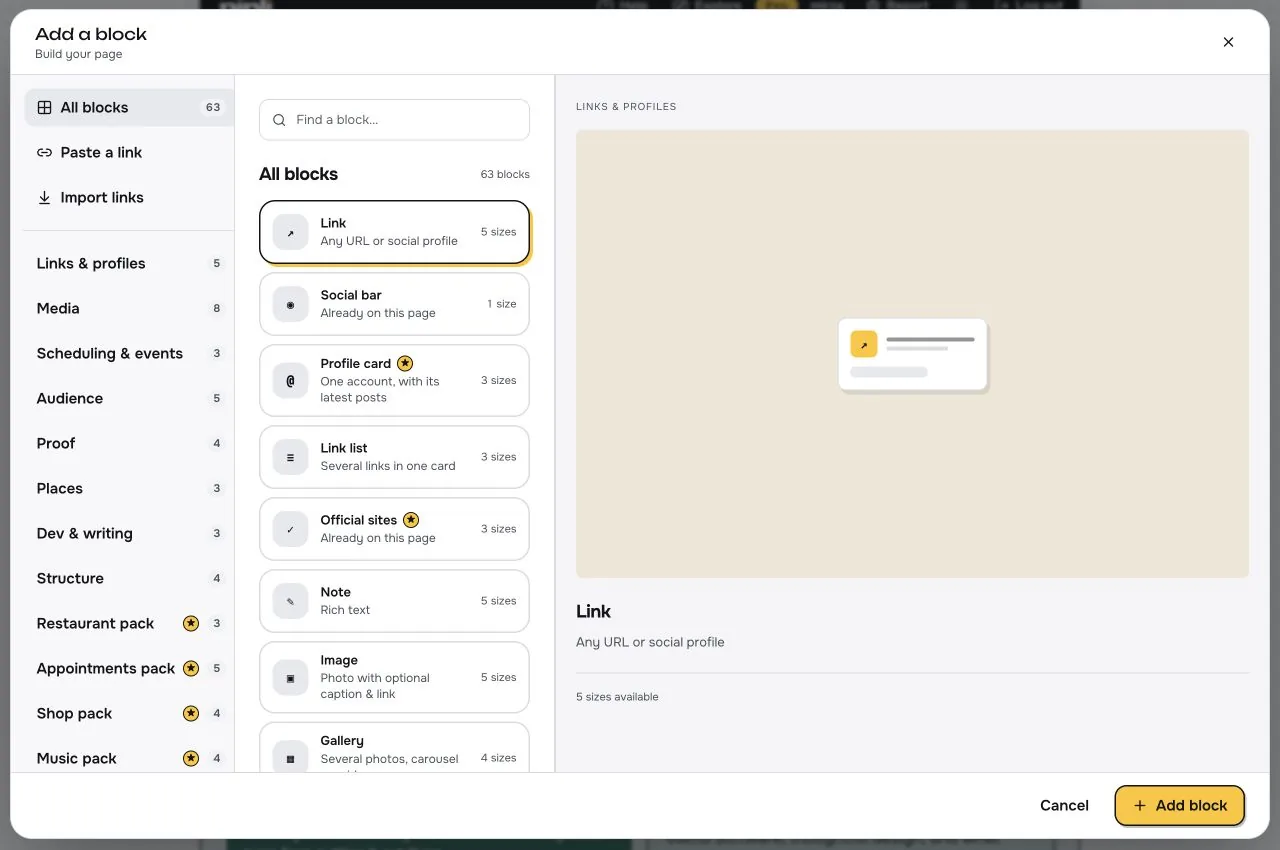
Select Add block on the rail. Search or browse categories such as Links & profiles, Media, Audience, and Structure. Select a block to see its sizes, then choose Add block in the dialog.
Start with the essentials: a link to your work, an image or note, and one way to contact you. Click a block on the page to edit it. Drag blocks to change their order and resize them to give useful items more space.
Packs provide blocks for shops, appointments, music, stays, and other kinds of work. Availability depends on your plan.
Make the page look like yours
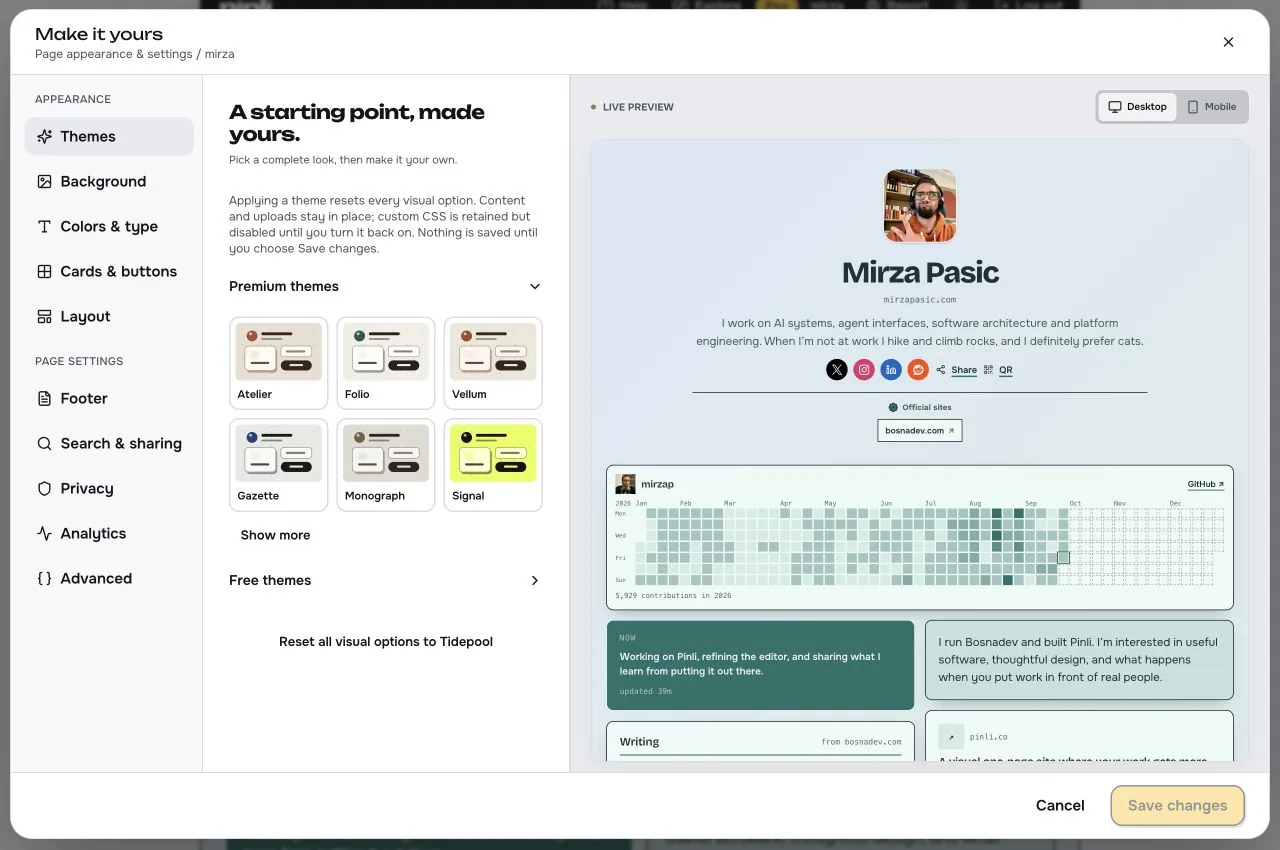
Open Theme & settings on the editor rail. Start with a theme, then adjust the background, colors and type, cards and buttons, and layout. The live preview shows each choice before you save it.
This panel also contains your footer, search and sharing, privacy, and analytics settings. Some themes and controls require a paid plan.